Squats are some of the best exercises for building strength, muscle, and overall fitness. But when it comes to front squats and back squats, many people—especially students—wonder which one to do and how to do them safely. This guide is designed for Grade 9 level and covers everything you need to know, from key differences to perfect technique and practical tips.
Front Squat vs Back Squat – Key Differences Explained
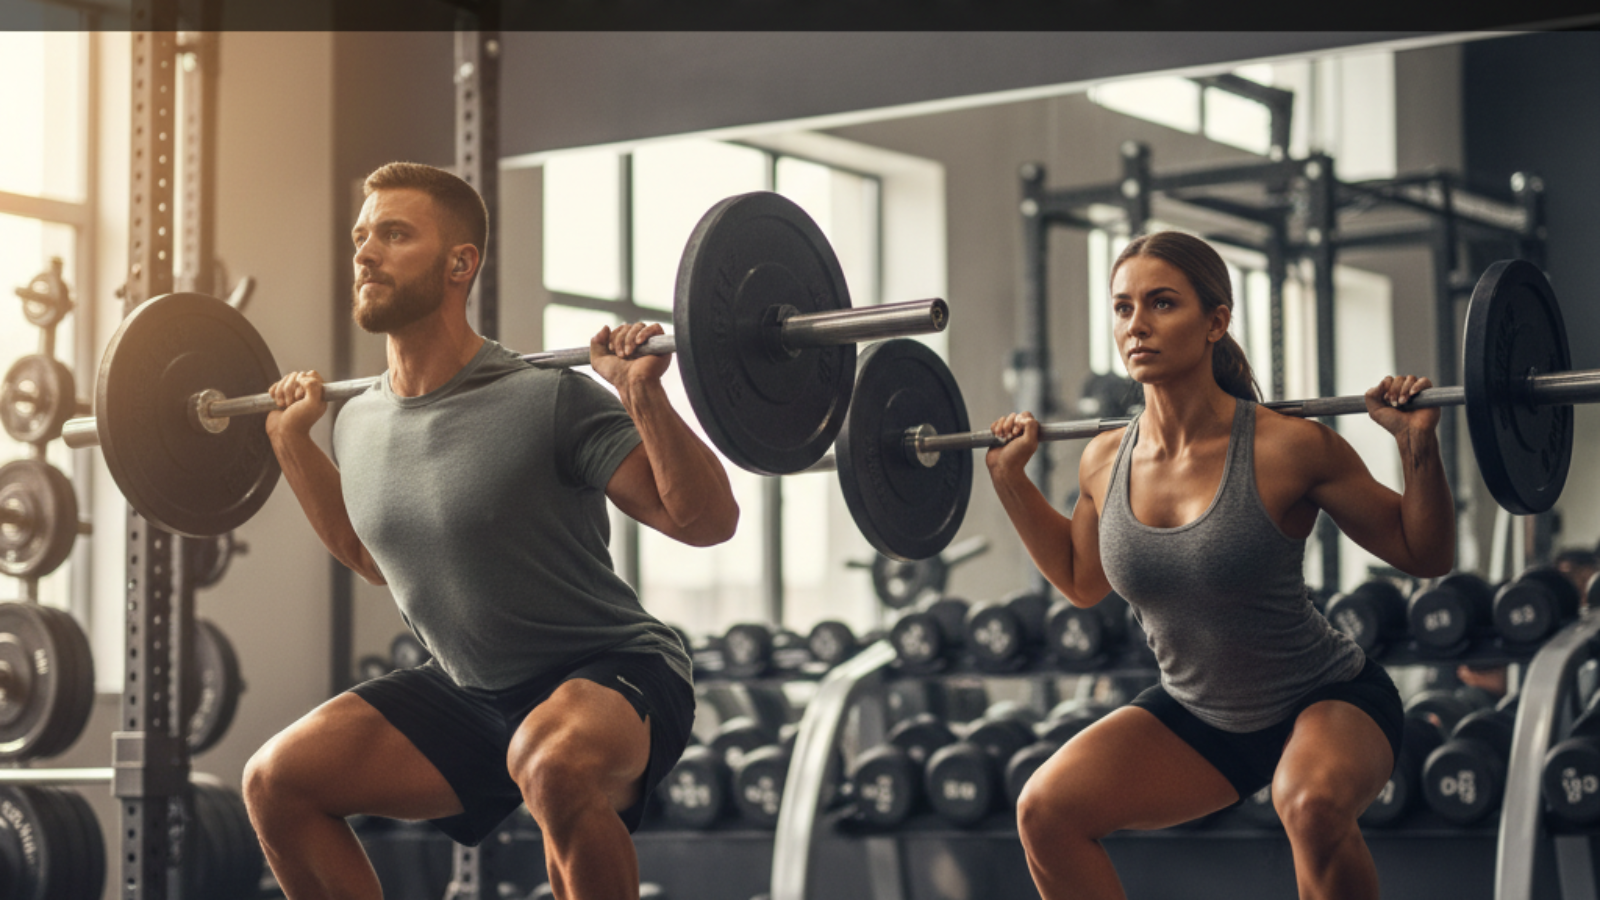
Bar Placement and Grip
The biggest visual difference between the front squat and back squat is the position of the bar.
- Front Squat: The bar rests on the front of your shoulders, just above your collarbone. Your elbows point forward and your fingertips hold the bar lightly.
- Back Squat: The bar sits across your upper back, on your trapezius muscles. Your hands grip the bar just outside your shoulders, elbows pointing down and back.
Muscle Activation and Biomechanics
Both squats work your legs, but they target muscles slightly differently:
- Front Squat: Focuses more on your quadriceps (front thighs) and upper back. You stay more upright.
- Back Squat: Targets your glutes (butt), hamstrings (back of thighs), and lower back alongside your quads.
Mobility and Flexibility Requirements
- Front Squat: Needs better wrist, shoulder, and ankle flexibility. Keeping your upper body upright requires good form.
- Back Squat: Needs strong, stable shoulders and hips, but is friendlier for most people’s flexibility.
Weight Capacity and Strength Potential
- Front Squat: You usually lift less weight due to the harder bar position and core engagement.
- Back Squat: You can lift heavier, since the bar placement allows stronger movement and more muscle recruitment.
Step-by-Step: How to Perform the Perfect Front Squat
Equipment and Setup
- Barbell (standard Olympic bar works best)
- Squat rack for safety
- Flat shoes or bare feet
- Optional: weightlifting belt and wrist wraps
Stepwise Technique Breakdown
- Set Up the Bar: Place the barbell on the squat rack at about chest height.
- Grip and Position: Step under the bar so it rests across the front of your shoulders. Cross your arms over the bar or use a clean grip (fingertips under bar, elbows forward).
- Unrack the Bar: Stand up tall to lift the bar from the rack. Step back with your feet shoulder-width apart.
- Brace: Take a deep breath, tighten your stomach muscles, and keep your chest up.
- Squat Down: Bend your knees and hips at the same time, keeping elbows high and torso upright. Go as low as you can while heels stay flat.
- Stand Up: Push through your feet and rise to standing, keeping the bar steady and your elbows up.
- Rack the Bar: Step forward and place the bar back onto the squat rack.
Common Front Squat Mistakes & Troubleshooting
- Letting elbows drop—keep them high to prevent tipping forward.
- Heels lifting off the ground—push weight through your heels.
- Knees caving in—focus on pushing knees out as you squat.
- Wrists bending back—practice with lighter weights to build wrist flexibility.
Safety Tips for Front Squats
- Always warm up your wrists, shoulders, and ankles before starting.
- Start with an empty bar or lightweight until you master the technique.
- If you lose control, drop the bar forward and away from your body.
- Use safety pins or bars on your rack.
Step-by-Step: How to Perform the Perfect Back Squat
Equipment and Setup
- Barbell
- Squat rack
- Flat shoes
- Optional: weightlifting belt
Stepwise Technique Breakdown
- Set Up the Bar: Barbell at upper chest height in the rack.
- Grip and Position: Step under the bar so it sits across your upper back (not your neck).
- Unrack the Bar: Stand up and walk back, feet shoulder-width apart or slightly wider.
- Brace: Take a deep breath, tighten your core, and keep your chest up.
- Squat Down: Push your hips back and bend your knees, keeping your back straight. Go as deep as you can keeping your heels flat.
- Stand Up: Push through your feet and return to standing.
- Rack the Bar: Walk forward and set the bar back in the rack with care.
Common Back Squat Mistakes & Troubleshooting
- Bar too high or too low on your back—aim for the “shelf” of your upper back muscles.
- Letting your chest fall—keep your head and chest up.
- Knees moving forward too much—sit your hips back as you descend.
- Heels coming off ground—find a comfortable foot angle and push through your entire foot.
Safety Tips for Back Squats
- Use a spotter if you are lifting heavy.
- Always warm up hips, ankles, and lower back.
- Don’t bounce at the bottom of the squat.
- Use safety bars on the squat rack.
Front Squat vs Back Squat – Which One Should You Choose?
Choosing Based on Your Fitness Goals (Strength, Muscle Growth, Athleticism)
- Strength: Back squats let you lift heavier weights for total body power.
- Muscle Growth: Both are great, but back squats hit more muscle groups. Front squats can focus on building bigger thighs.
- Athleticism: Front squats help improve posture and core strength, which is useful for sports.
Individual Mobility and Injury Considerations
- If you struggle with ankle or wrist mobility, start with back squats.
- If you feel back pain with back squats, front squats place less strain on the lower back.
- If you have healthy shoulders and good wrist flexibility, try both to see which feels best.
Practical Scenarios: When to Use Each Squat Variation
- Front Squat: Great for athletes needing strong quads and a solid core (soccer, basketball)
- Back Squat: Best for athletes or lifters aiming for overall strength and muscle mass (powerlifters, football players)
- Both: Using both squats can make your training more balanced.
How to Integrate Front and Back Squats into Your Training Program
Weekly Programming Examples for Different Goals
| Goal | Front Squat (per week) | Back Squat (per week) | Sets & Reps |
|---|---|---|---|
| Strength | 1-2 | 2-3 | 4-6 sets x 3-6 reps |
| Muscle Gain | 2 | 2 | 3-5 sets x 8-12 reps |
| Athleticism | 2-3 | 1-2 | 3-4 sets x 6-10 reps |
Combining Both Squat Types for Balanced Development
- Alternate front and back squats on different days.
- Use lighter front squats after heavy back squats for extra quad work.
- Cycle between 4 weeks focusing on back squats, then 4 weeks on front squats.
Warm-Up and Accessory Movements
- 5-10 minutes light cardio (jogging, cycling)
- Dynamic stretches for hips, ankles, shoulders
- Bodyweight squats as practice
- Accessory moves: lunges, leg press, planks, glute bridges
FAQ: Front Squat vs Back Squat – Your Questions Answered
- Which squat is harder? Front squats feel harder for most people because of the upright posture and core demand, even with lighter weights.
- Do I need special shoes? Flat, stable shoes are best. Weightlifting shoes can help, but are not required at first.
- How deep should I squat? As low as possible while keeping your back straight and heels down. Going “parallel” (thighs level with ground) is a good start.
- How do I increase flexibility? Stretch ankles, hips, and wrists daily. Practice with bodyweight squats and pause at the bottom.
- Is it safe to squat for young athletes? Yes—if you use good technique, safe weights, and adult supervision.
Summary: Key Points and Next Steps
- Front squats and back squats are both great for building strength, muscle, and athletic skills.
- Choose the variation that matches your goals, body, and flexibility.
- Start with light weights and focus on perfect technique before adding load.
- Mix both squats into your weekly plan for the best overall results.
- Always be patient—progress comes with practice and consistency.
By following this guide, you will develop strong, powerful legs, a stable core, and good lifting habits for life. Keep moving, keep learning, and enjoy your training journey!